immersion blender for smoothies is my little kitchen shortcut for mornings when I want something cold, creamy, and fast but I do not want to drag out a big blender and then scrub five parts after. I used to think smoothies had to be a whole production, and I kept bouncing between juice and smoothies depending on my mood. If you have ever wondered what is actually better for your day, I liked this quick read on detox juice recipe vs smoothies which is better because it helped me stop overthinking it. These days, I grab a tall cup, toss in a few basics, and blend right there on the counter. The best part is you can make really delicious smoothie recipes with your immersion blender even if your kitchen is small and your time is tighter than you would like. 
Why The Test Matters
I know, “testing” sounds serious for something as chill as smoothies, but hear me out. An immersion blender can make a great drink, but the results depend on a few small choices like cup shape, ingredient order, and how much liquid you add. If you do not pay attention to those, you might end up with gritty spinach bits or banana chunks that somehow hide at the bottom.
I started testing my go to combinations because I wanted a smoothie that is smooth enough to sip through a straw, but still thick and filling. I also wanted recipes that do not require fancy powders or expensive add ins every single time. And honestly, I wanted to know what works when you do not own a high speed machine. If you are in that boat too, you might like this guide on how to blend smoothies without a high speed blender, because it matches real life kitchens.
When I say “test,” I am really talking about repeating the same smoothie a few times and noticing what changes it. Once you do that, you can freestyle without fear. And that is when an immersion blender for smoothies becomes the easiest habit to keep. 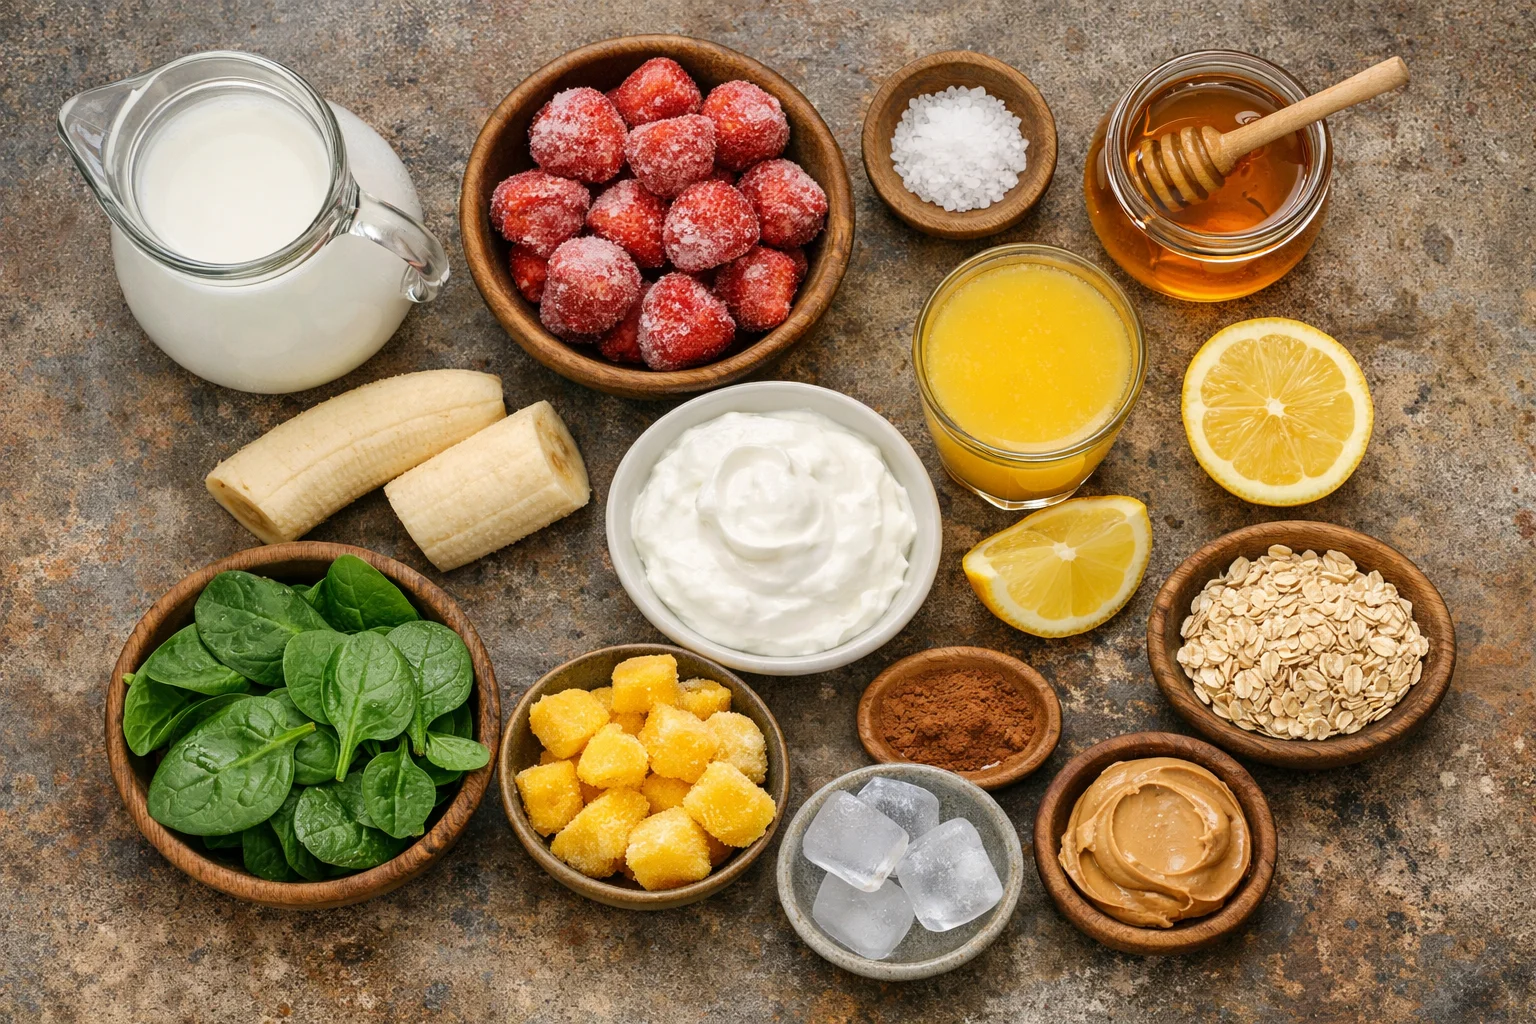
Testing Procedure
Here is exactly how I test a smoothie recipe with an immersion blender, in a way that is practical and not annoying.
What you will need
- Immersion blender
- A tall blending cup or wide mouth mason jar
- Measuring cup for liquid the first time you make it
- A spoon to scrape nut butter or yogurt
- Frozen fruit (it matters for thickness)
I always start with the cup first, not a bowl. Bowls invite splashing and they do not give the blade enough depth. Then I follow a simple order that keeps the blade moving freely: liquid first, then soft stuff, then frozen stuff on top. After that, I tilt the blender a little and do a few short pulses before blending longer. If the smoothie stalls, I stop, stir once, add a splash of liquid, and go again.
For people who like to meal prep, I am a huge fan of smoothie packs. You can portion fruit and greens in bags, freeze them, and dump into your cup in the morning. This is the approach I use from this smoothie meal prep guide, and it genuinely saves me on busy weeks.
One more honest note: some ingredients just blend better if you give them a tiny head start. For example, blend your milk plus spinach for 10 seconds first, then add frozen fruit. It sounds fussy, but it is actually faster than stopping to fix a stuck blade. 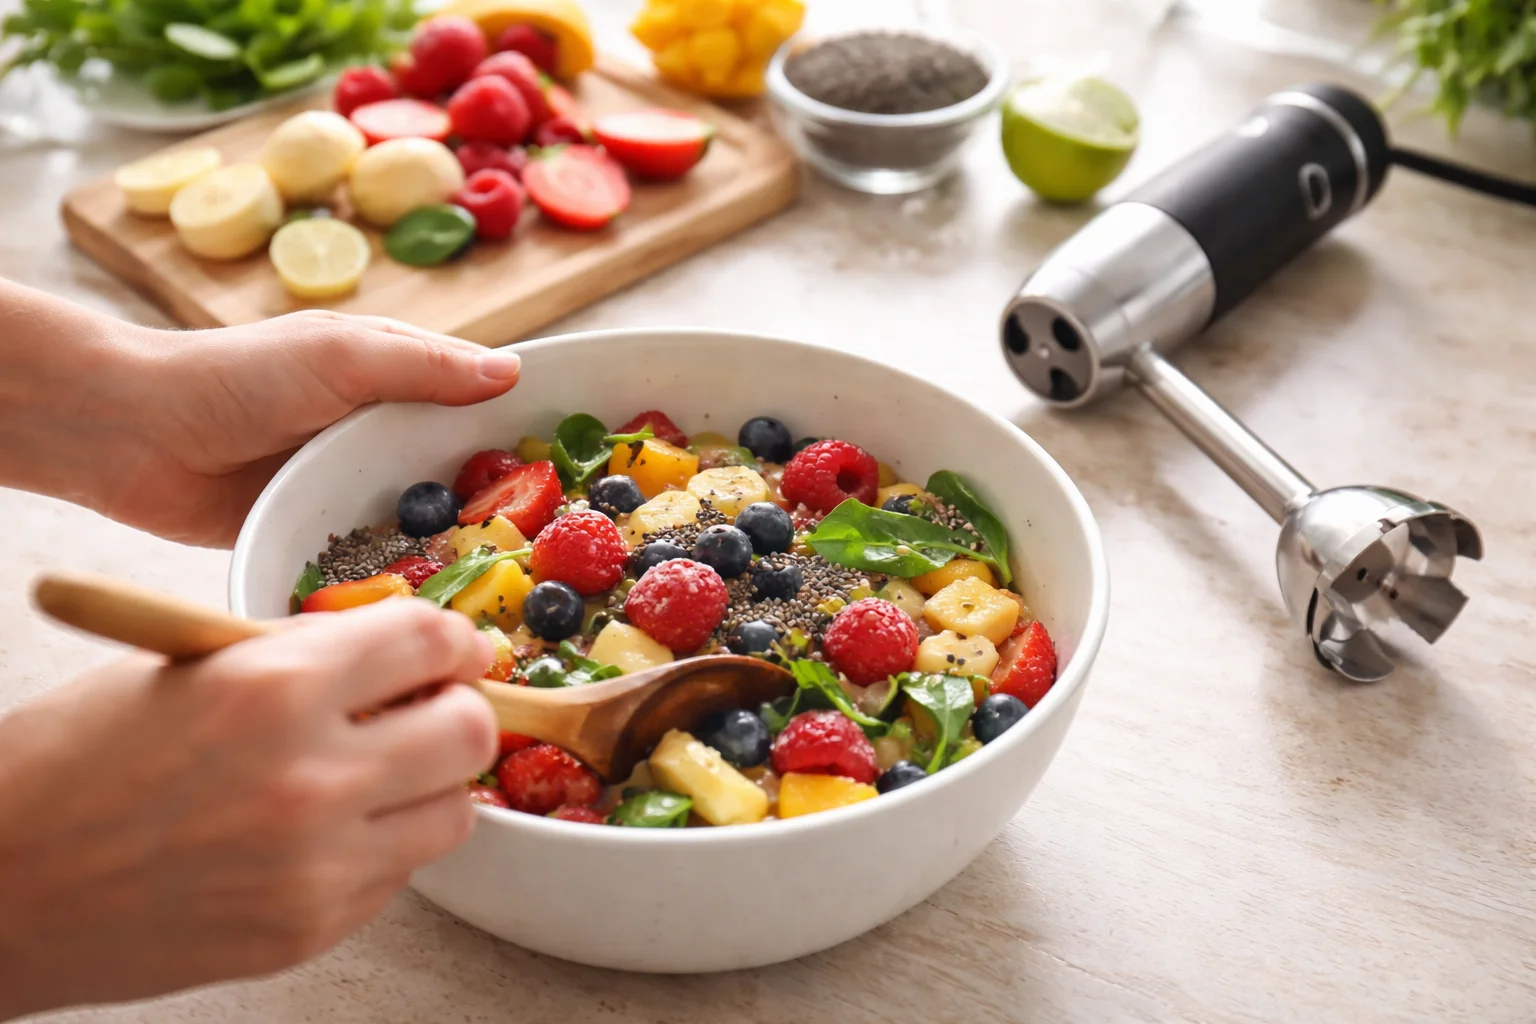
Scoring Scale
I keep my scoring simple, because if it feels like homework, I will not do it. I rate each smoothie on a few things and jot a quick note in my phone. This also helps when I am trying new delicious smoothie recipes with your immersion blender and I want to remember what actually worked.
My quick smoothie scorecard
- Smoothness: Can I sip it without chewing?
- Thickness: Is it milkshake thick or watery?
- Flavor: Would I make it again, happily?
- Staying power: Am I hungry again in an hour?
- Cleanup: Did this make me regret everything?
Most of the time, smoothness comes down to enough liquid and giving leafy greens a quick pre blend. Thickness comes down to frozen fruit, and not overdoing the liquid. Flavor is where you can have fun, but I always keep one “anchor” ingredient like banana, mango, or yogurt so the whole thing tastes like a real treat.
“I thought my immersion blender was only for soup, but your tips made my smoothies actually smooth. I tried the mango one and my kid asked for it again the next day.”
If you are experimenting a lot and thinking about upgrading tools later, this post on how to choose the best blender for smoothies is helpful, even if you stick with an immersion blender for now. It helped me understand what matters and what is just marketing noise.
Benefits of Using Immersion Blenders for Smoothies
Let me be real, a countertop blender can be awesome, but an immersion blender is the reason I actually make smoothies on regular weekdays. The convenience is the whole point.
Here is what I notice most:
1. Quick cleanup
You rinse the blade end right away and you are basically done. No giant pitcher, no lid, no gasket mysteries.
2. Small batch friendly
If you are making one smoothie, this is perfect. Big blenders sometimes struggle with tiny amounts, but an immersion blender for smoothies handles single servings easily.
3. Easy to adjust as you go
Too thick? Splash more milk. Not sweet enough? Add a date. You do not have to pour and re blend. You can fix it right in the cup.
4. Budget friendly
You can make delicious smoothie recipes with your immersion blender without buying a new appliance. And if you are trying to keep grocery costs down, I also like this roundup on delicious smoothies on a budget because it leans on simple, affordable staples.
Now, the fun part. Here are three of my favorites that I make on repeat.
Creamy Strawberry Banana Cloud
Ingredients: milk of choice, frozen strawberries, banana, Greek yogurt, pinch of salt, optional honey.
My note: salt sounds weird but it makes the strawberry taste pop.
Mango Green Glow
Ingredients: orange juice or water, handful spinach, frozen mango, banana, squeeze of lemon.
My note: blend the liquid and spinach first, then add frozen fruit. This one tastes sunny and not “green.”
Chocolate Peanut Butter Oat Smoothie
Ingredients: milk, oats, cocoa powder, peanut butter, banana, a few ice cubes.
My note: let the oats sit in the milk for 2 minutes while you gather everything else. It gets thicker and blends smoother.
I keep coming back to these because they are dependable. And once you get the feel for it, you will start inventing your own delicious smoothie recipes with your immersion blender based on whatever fruit is hiding in your freezer.
Tips for Perfect Smoothies
This is the part I wish someone had told me earlier, because it would have saved me from so many watery, chunky “almost smoothies.”
My no stress rules
Start with enough liquid
For one serving, I usually start with about half to three quarters cup liquid. You can always add more, but you cannot easily take it out.
Use frozen fruit for thickness
If everything is fresh, you will need a lot of ice, and ice can water things down fast. Frozen bananas, mango, berries, even frozen zucchini are your friends.
Do not overload the cup
Leave space so the ingredients can circulate. If it is packed to the top, the blade just struggles and you end up stirring forever.
Blend in stages
Greens first with liquid, then the heavy frozen stuff. This tiny trick makes an immersion blender for smoothies feel way more powerful.
Make it filling on purpose
If you are replacing breakfast or lunch, add something that sticks. Yogurt, oats, chia, nut butter, or even silken tofu works. If you are curious about doing this safely, I like these tips on how to replace meals with smoothies safely.
Also, if you want more ideas beyond my three favorites, I browse this smoothies category when I get bored. It is nice for seasonal inspiration. And if you love a colorful boost, you might also enjoy this beet juice recipe for energy on days when you want something different from the usual berry vibe.
Common Questions
1. Can an immersion blender crush ice for smoothies?
A little ice is usually fine, especially if it is mixed with liquid and softer ingredients. If your ice is very hard and chunky, use frozen fruit instead or let the ice sit for a minute to soften a bit.
2. What cup works best?
A tall, narrow cup helps the blade stay submerged and keeps things moving. A wide bowl tends to splash and blend unevenly.
3. How do I stop it from getting chunky?
Blend leafy greens with liquid first, then add frozen fruit. And do not be shy with a splash more liquid if it stalls.
4. Can I make smoothies ahead of time?
Yes, but they taste freshest within 24 hours. Store in a sealed jar in the fridge and shake well. If it separates a bit, that is normal.
5. How do I make it sweeter without loading it with sugar?
Ripe banana, mango, dates, or a tiny drizzle of honey works. Cinnamon and vanilla also make smoothies taste sweeter without much added sugar.
A final sip and a little nudge to try it
If you take anything from this post, let it be this: an immersion blender for smoothies can make genuinely creamy drinks if you use enough liquid, blend in stages, and lean on frozen fruit for that thick texture. Keep a couple of freezer staples on hand and you can pull off delicious smoothie recipes with your immersion blender even on chaotic mornings. If you want a quick official walkthrough, this guide on How to make an immersion blender smoothie | KitchenAid US is worth a look, especially for basic technique. Now go grab your tallest cup and try one of the three recipes above, then tweak it to match your taste. Once you nail your favorite combo, it gets weirdly fun.