how to clean juicer properly is one of those things I always swear I will do right away, and then I blink and the pulp has basically glued itself to the strainer. If you have ever made a bright, zingy morning juice and then walked away from the sink like it was not your problem, you are my kind of person. The good news is this does not have to be a big chore, and once you get a routine, it takes just a few minutes. Also, if you are still deciding whether you are more of a juicer person or a blender person, I wrote about it here: detox juice recipe vs smoothies which is better. Today I am sharing my simple, real life method to keep your juicer clean, fresh, and not secretly stinky. 
Whats the Easiest Way to Clean a Juicer?
The easiest way is to clean it right after you juice. I know, I know, this is the advice nobody wants, but it is the truth. When the parts are still wet and the pulp is soft, everything rinses off fast. When it dries, it turns into a crusty project.
Here is my quick routine that feels almost too easy:
- Unplug the juicer and take it apart right away.
- Rinse the main parts under warm water for 20 to 30 seconds.
- Use a small brush on the strainer before anything dries.
- Set parts in a drying rack so air can get around them.
If I am feeling extra lazy, I fill the sink with warm soapy water and drop the removable parts in while I drink my juice. By the time I come back, most of the mess slides right off. This is also why I love simple recipes that do not use sticky stuff like bananas in a juicer. If you want a juice that is totally worth the cleanup, my go to is this detox juice recipe liver cleansing because it tastes fresh and it does not turn your machine into a glue factory. 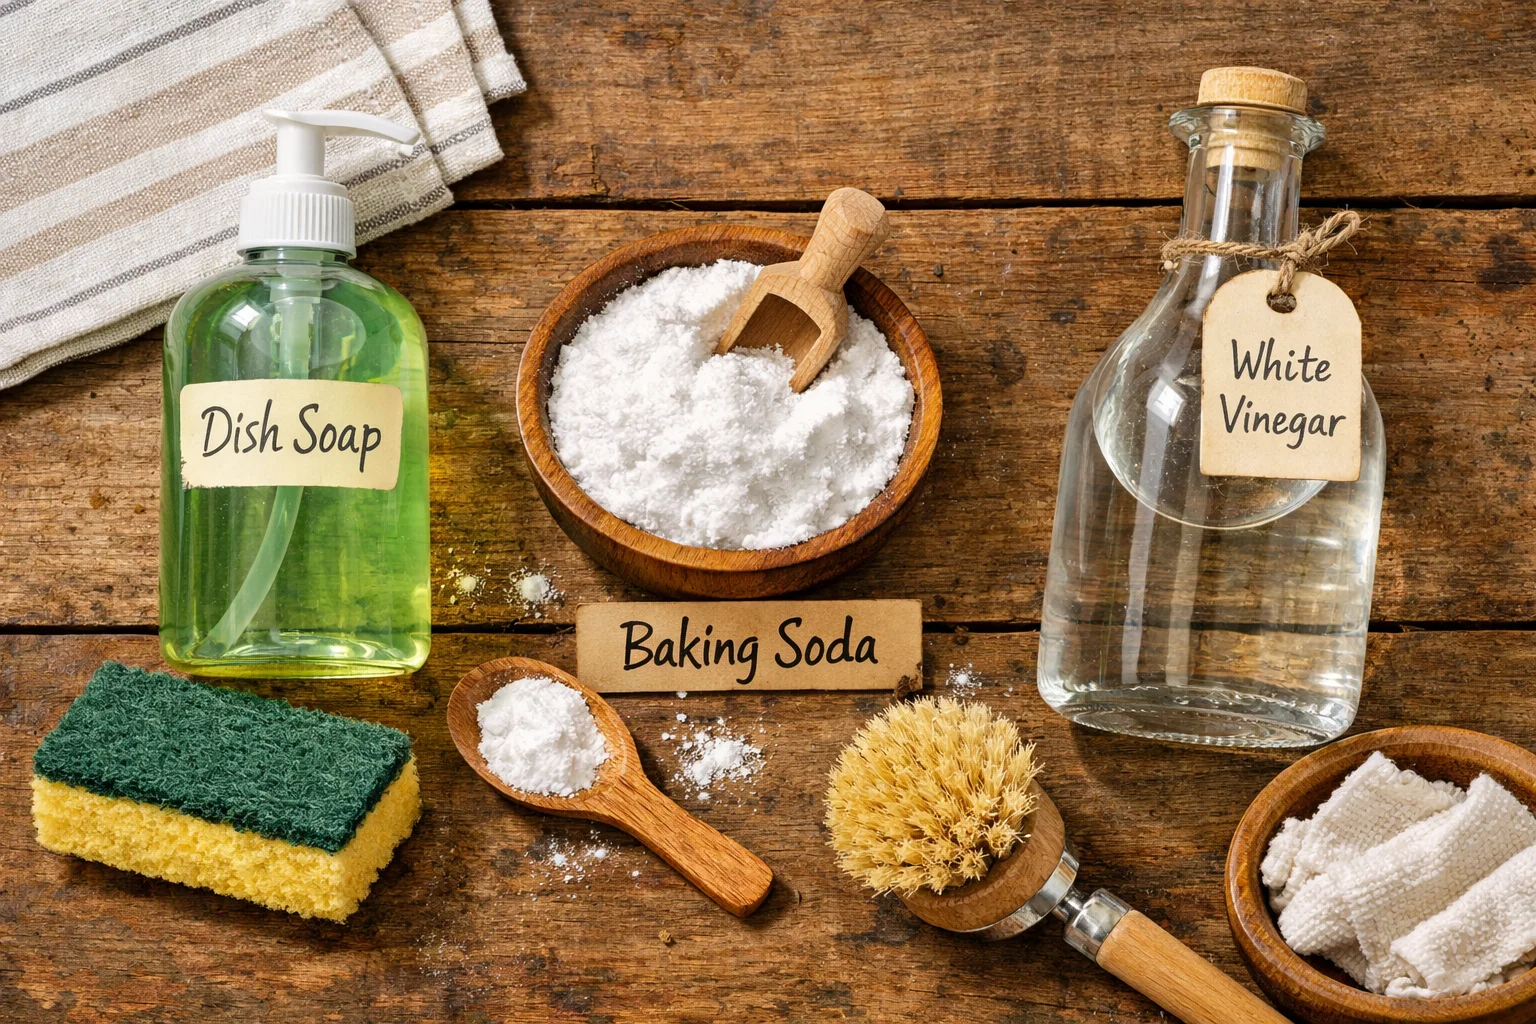
Why Cleaning Your Juicer Is Important
Cleaning is not just about looking neat on your counter. Old pulp and juice droplets can grow bacteria, smell weird, and make your next juice taste a little off. And once your strainer gets clogged, your juicer has to work harder and you get less juice. Nobody wants that.
Here is what I have personally noticed when I stay consistent with cleaning:
Better flavor because yesterday’s celery does not sneak into today’s apple ginger. Less foam because the filter holes stay open. Longer life because the motor is not fighting buildup. And honestly, more motivation to juice because I am not staring at a sink full of parts I hate.
One more thing that matters: some produce stains fast, like beets and turmeric. Cleaning quickly keeps your plastic parts from looking permanently orange or pink. If you are on a kick with spicy, bright juices, you might like this anti inflammatory detox juice, but just know it is the kind of recipe that really rewards quick rinsing afterward.
“I used to avoid my juicer because cleanup felt gross. I started rinsing everything immediately like you suggested, and it honestly takes five minutes now. No smell, no stuck pulp, and I juice more often.”
How to Clean a Juicer: Step by Step Instructions
This is my full, no drama method. It works for most centrifugal and masticating juicers, but always check your manual if something seems different. The big idea is the same: rinse fast, scrub the filter gently, and dry well so it stays fresh.
My simple cleaning setup
I keep a tiny “juicer cleaning kit” under the sink. Nothing fancy, just:
- A soft sponge that I use only for the juicer
- A small brush or toothbrush style cleaning tool
- Mild dish soap
- A clean towel for drying
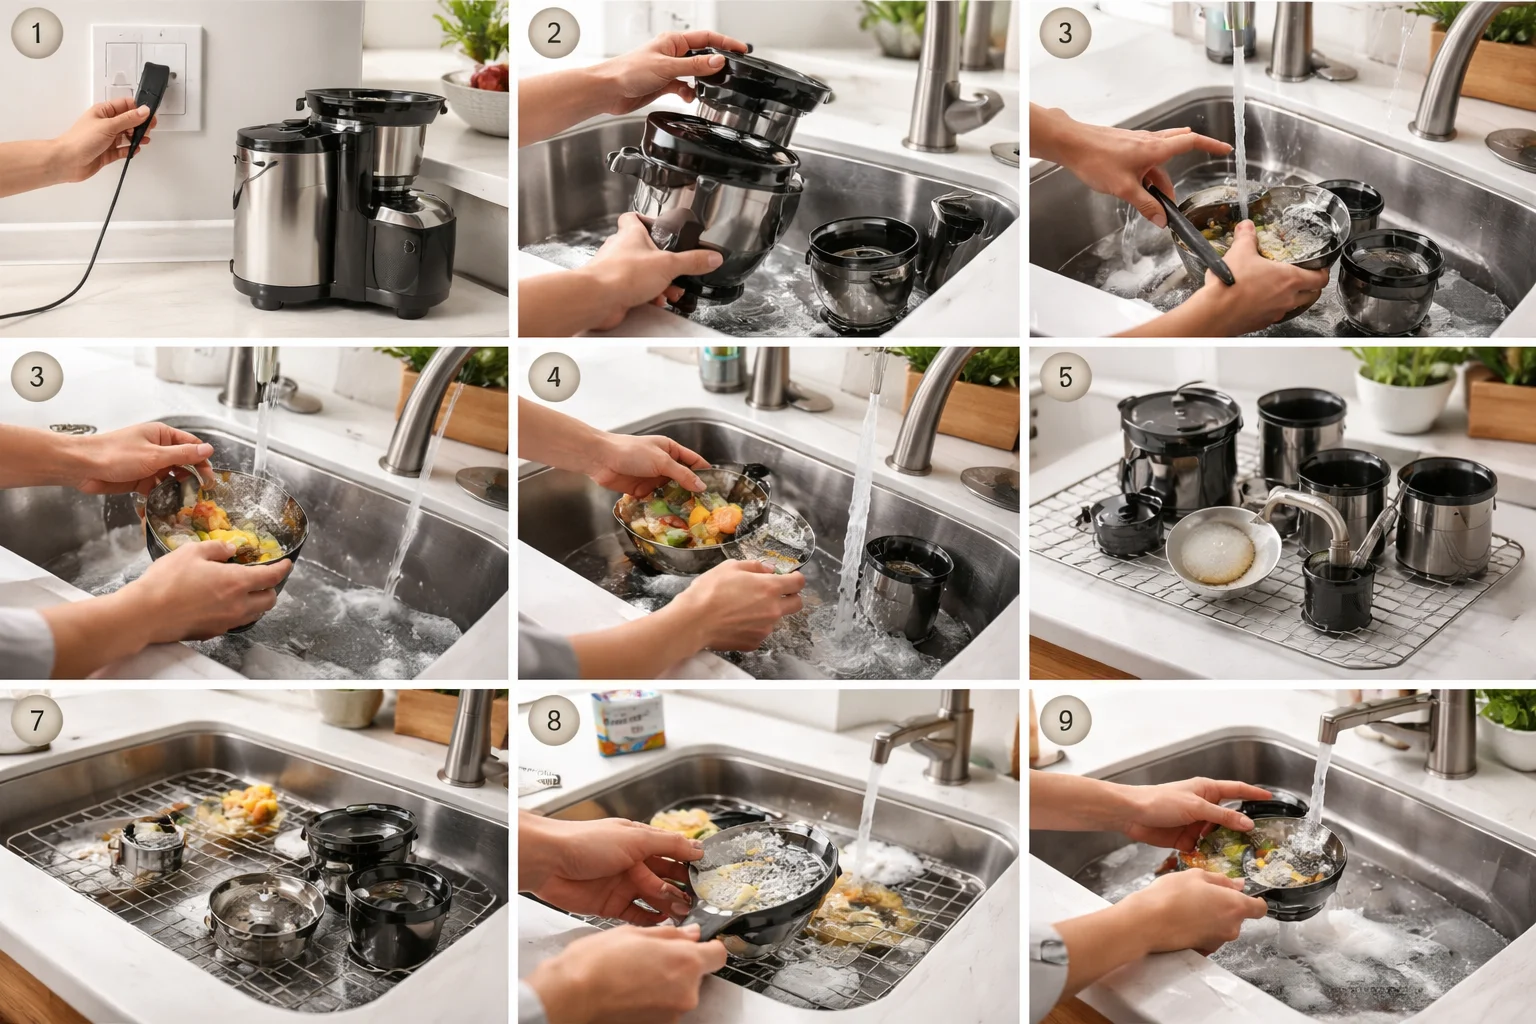
Step by step cleaning after every use
Step 1: Unplug and disassemble. I do this first, before I even take a sip sometimes. The longer it sits, the harder it gets.
Step 2: Dump the pulp. Knock it into the trash or compost. If you compost, it is kind of satisfying.
Step 3: Rinse everything. Warm water is your friend. Do not use super hot water on parts your manual says are heat sensitive.
Step 4: Clean the strainer. This is the most important part. Hold it under running water and brush from the inside out so you push pulp out of the tiny holes.
Step 5: Wash with soap. A tiny bit of mild soap is enough. Heavy scented soap can stick around and make your next juice taste like “lemon dish liquid.”
Step 6: Wipe the base. Never dunk the motor base in water. I wipe it with a damp cloth, then dry it.
Step 7: Dry completely. Air drying is great, but I usually pat the parts dry too. Moisture trapped in pieces can lead to smells.
And just a quick real life note: if you are batch prepping smoothies instead of juicing some days, it helps keep your routine simple. I sometimes do juice during the week and prep frozen smoothies on weekends. This guide on how to freeze smoothies properly easy tips is exactly how I do it without ending up with icy bricks that will not blend.
How to Clean Juicer Buildup
If you are here because you found a crusty ring, a stained filter, or a smell you cannot un smell, do not worry. It happens. Especially if you juice things like carrots, beets, or leafy greens all the time.
Here is my go to method for buildup days:
1) Soak the parts. Fill a bowl or sink with warm water and a few drops of dish soap. Let the strainer, juice bowl, and other removable parts soak for 15 to 30 minutes.
2) Brush patiently. The strainer needs gentle pressure, not rage scrubbing. Keep brushing under water to flush the holes.
3) Use baking soda for smells. If the plastic smells funky, I make a paste with baking soda and a little water, rub it on, and rinse well.
4) Vinegar rinse for mineral film. If you have cloudy film from hard water, a quick rinse in a mix of water and a splash of white vinegar can help. Rinse again with plain water afterward.
5) Check the gasket areas. Some lids and parts have little grooves. That is where pulp loves to hide. A small brush helps a lot.
Once you get rid of buildup, the key is staying consistent. This is where that daily habit of how to clean juicer properly really pays off. The less residue you leave behind, the less you have to deep clean later.
Can You Wash a Juicer in the Dishwasher?
Sometimes yes, sometimes absolutely not. It depends on your model and the materials. Many juicers have dishwasher safe parts, usually on the top rack, but some filters and lids can warp or get cloudy. And the motor base should never go in, obviously.
My honest dishwasher take
If your manual says dishwasher safe, you can use it, but I still recommend rinsing first. Dishwashers bake on pulp if you toss parts in dirty. Also, strainers can come out with tiny bits stuck in the mesh, so you may still need a quick brush after.
If you do use the dishwasher:
- Put parts on the top rack
- Avoid high heat drying if your parts are prone to warping
- Do not wash sharp blades loose where they can bang around
Personally, I hand wash most of the time because it is faster than waiting for a full dishwasher cycle. Plus, when I am in a juice mood, I am usually also in a “fresh kitchen” mood. And if you are making juices for your whole crew, you might like these ideas for detox juice recipe whole family kid friendly options, because kid friendly usually means you are washing the juicer more often, too.
Common Questions
How long can I leave my juicer unwashed?
Try not to go past an hour. If you have to, at least rinse the filter and the juice bowl so pulp does not dry on.
Why does my juicer smell bad even after washing?
Usually it is trapped moisture or pulp hiding in grooves. Dry everything fully and use a baking soda scrub on the smelly plastic parts.
What is the best brush for the strainer?
A small, firm bristle brush that fits the curve of the filter. Most juicers come with one, but a clean toothbrush works in a pinch.
How do I stop stains from beets and turmeric?
Rinse immediately, then wash with soap. For stubborn stains, a baking soda paste helps. Some stains are cosmetic, but they usually fade over time.
Is it safe to use bleach on juicer parts?
I avoid it for everyday cleaning. If you choose to sanitize, follow your manufacturer’s guidance and rinse extremely well so there is zero odor left behind.
A fresh, happy juicer habit you will actually stick to
If you take anything from this post, let it be this: rinse right away, brush the strainer before it dries, and let everything dry completely. That simple routine is the real secret to how to clean juicer properly without hating your life. If you want an extra detailed reference to compare methods, this guide is solid: How to Clean a Juicer: Cleaning Instructions + Buildup Removal. Now go make yourself something delicious, enjoy that fresh juice, and do the quick cleanup while your glass is still cold. Future you will be so relieved.